

How To Make Car Seat Blanket
ten Step Auto Seat Blanket Tutorial

A motorcar seat coating is a perfect way to keep a babe that loves to be swaddled, warm. My Mom fabricated i for Cooper and he LOVES it! He practically falls asleep right when I put him in.
10 Step Car Seat Coating Tutorial
To make your ain hooded motorcar seat blankie, you will need:
- ane meter of flannel for the forepart
- 1 meter of flannel for the back
- 1 meter of cotton batting
- thread, pair of scissors, etc.
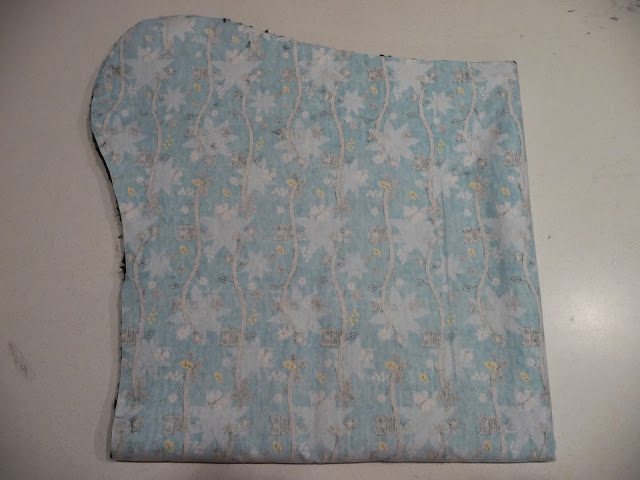
1.Place your ii pieces of flannel (or I used a soft Minky fabric for my inside) with fronts facing together and fold it into quarters. With a pen, draw on a shape that looks something like this:

There is no real demand for a pattern or measurements. Just freehand it. Then cut it out, leaving your folds intact.
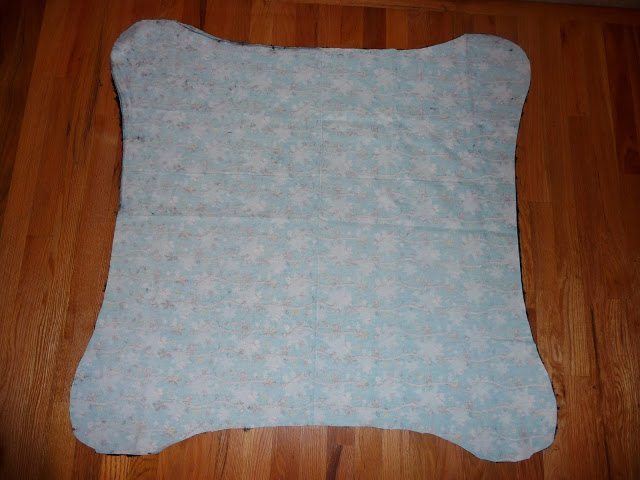
2.Unfold information technology and you will accept a shape that looks similar this:
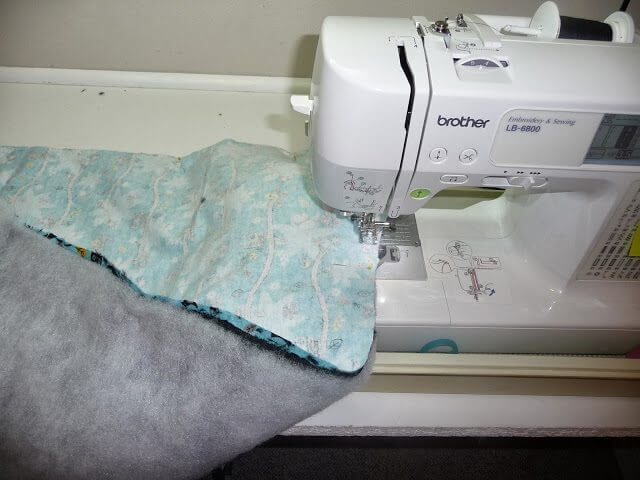
three.Lay your two layers of flannel (front sides nevertheless facing each other) out on a piece of batting and pin in place.
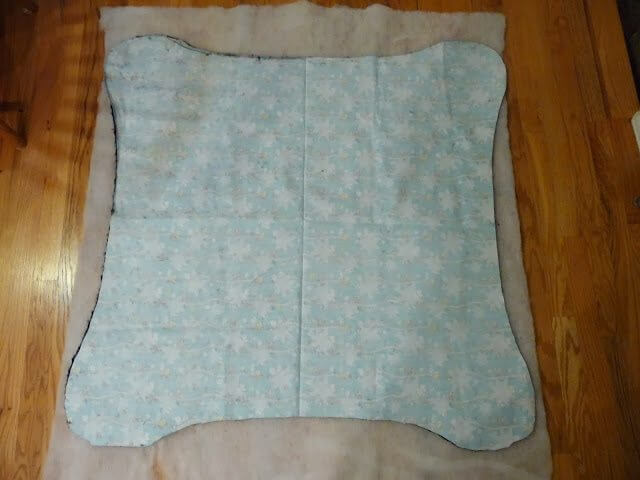
four.Cut around the blankie. Now you will have ii layers of flannel, forepart sides facing in, and a layer of batting on the bottom, all pinned together.
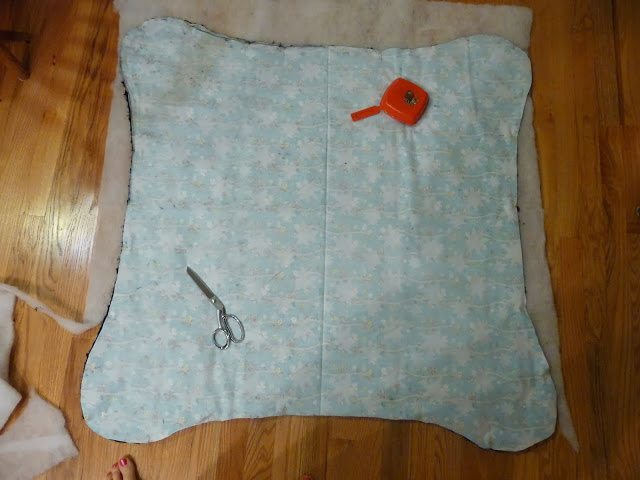

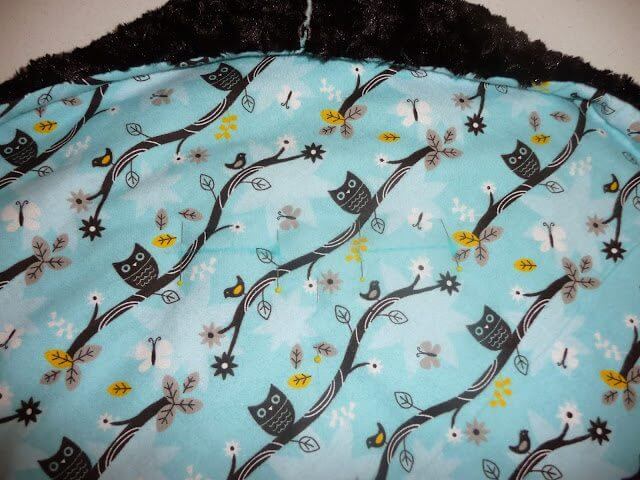
v.Sew around the outside with the batting on the bottom. Leave one of the nubby corner thingies (This is a very technical tutorial, as yous can see) open up so that you can turn the blankie correct side out. Trim your corners.(If one of your fabrics has a pattern on it yous may desire to brand sure that where y'all leave and open corner which is where you lot place the hood has the design facing up. My fabric had owls and they were upside down when I finished sewing and I didn't like that. Luckily I hadn't cutting my hood still but I did have to unpick and that wasn't fun.)
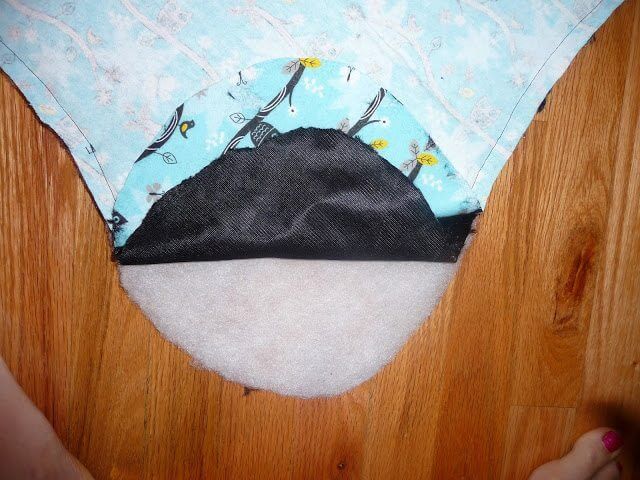
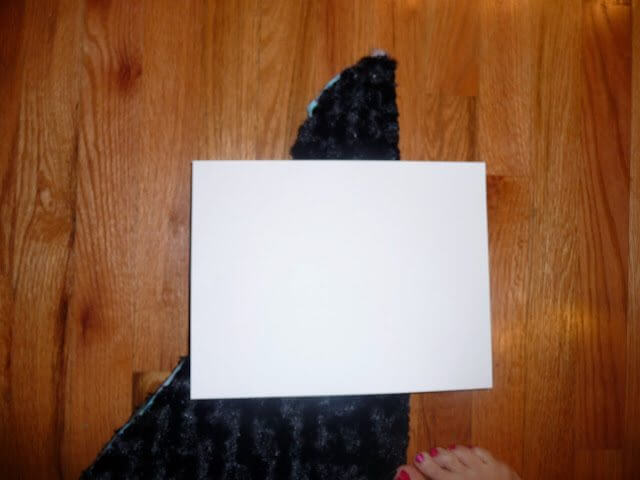
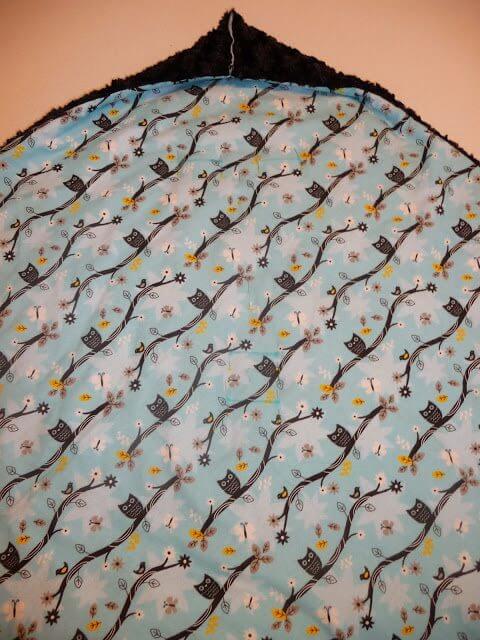
half-dozen.In one case you lot've turned the blankie right side out and then that the batting is on the inside, you can plow the open corner into a simple hood. Fold the corner in one-half with the fabric that you want to be on the underside of the blankie facing out like shown below, and sew approximately where I placed the top of the white paper.
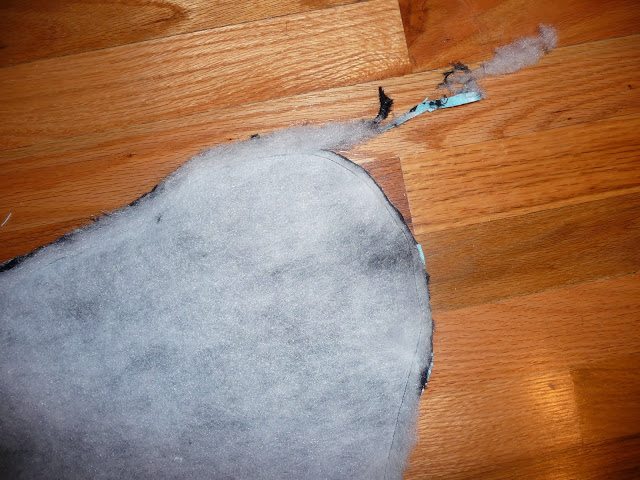
7.In one case Sewn you can but cut above your stitches and end your edge with a tight zig-zag stitch. You've now created a hood. At present you may want to run up all around the edges of the blankie to give it a nice finished edge.
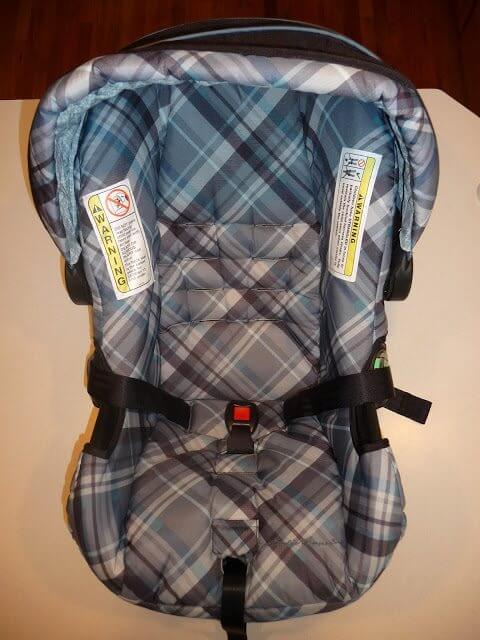
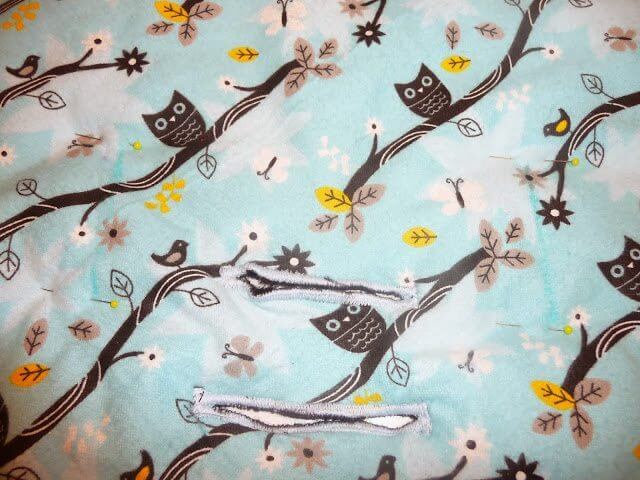
eight.To make the opening for the machine seat straps, lay the blankie in the car seat the way you lot want it to sit. Apply something to marking the tops and bottoms holes for the arm straps and each side of the slot for the lesser buckle thingy.(Once again, very technical.)
I marked them on the incorrect side just so y'all could see marks better. Yours will be the other way!
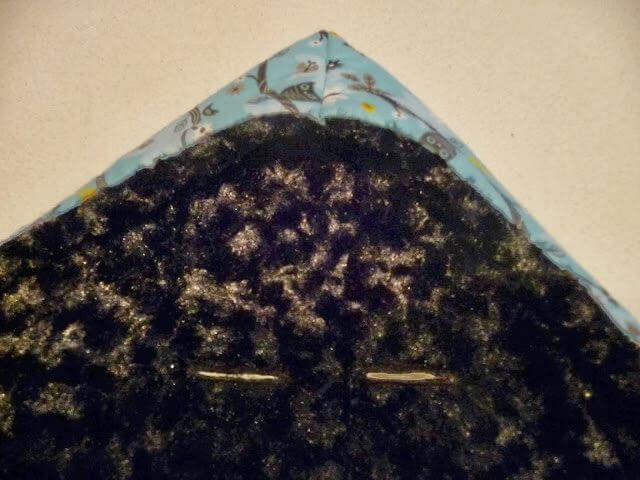
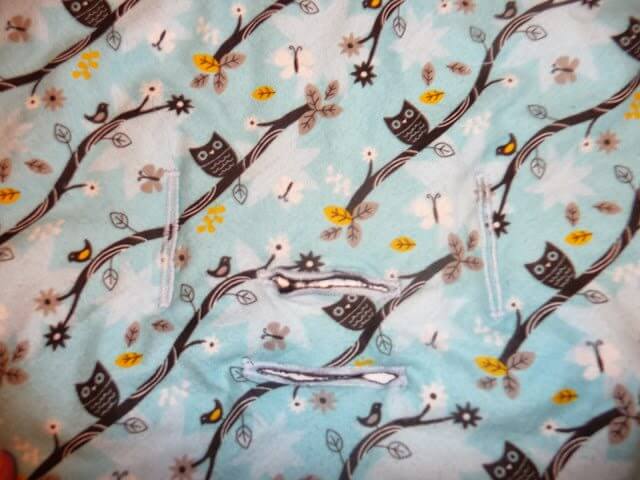
9.Run up around those lines and then mark and stitch the side holes. I made two lesser buckle holes and so that could move upwardly as the acme straps were moved up. Cut on the lines being careful not to cutting the stitches themselves. Use a rotary cutter if you have one.
10 Stride Auto Seat Blanket Tutorial
10 Stride Machine Seat Blanket Tutorial
10.To use your new car seat blankie, read the auto seat instructions to thread the straps through the motorcar seat and blanket, buckle the babe in snug and swaddle! I like to start bringing the left side over and tucking information technology in on the right, and then bring the center up and fold excess down for a newborn, and bring the correct side over and tuck it in on the left.

10 Step Auto Seat Coating Tutorial
Source: https://www.loulougirls.com/2014/01/10-step-car-seat-blanket-tutorial.html
0 Response to "How To Make Car Seat Blanket"
Post a Comment